
I LOVE crafting for new my baby girl! Its just so much fun and I’m kind of obsessed with my latest little girl craft: a gold heart onesie! It turned out better than I imagined. As soon as it was done, I shared this picture on Instagram. I am loving all things metallic right now, especially gold! So of course I went with a gold heart for my sweet baby girl. I also paired this with her arrow leggings; so cute!
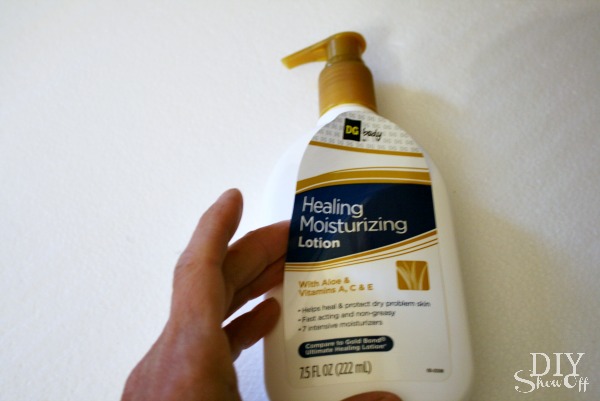
Now adding a simple heart or any decal to a shirt is super easy with your Silhouette vinyl cutter. {no sewing required!!} All you need is some Iron On Vinyl {I got mine from Happy Crafters. They carry several brands of Iron On and Adhesive Vinyl, so there is tons of colors/finishes to pick from!}, Silhouette Hook Tool, Standard Iron, and Scrap Fabric.

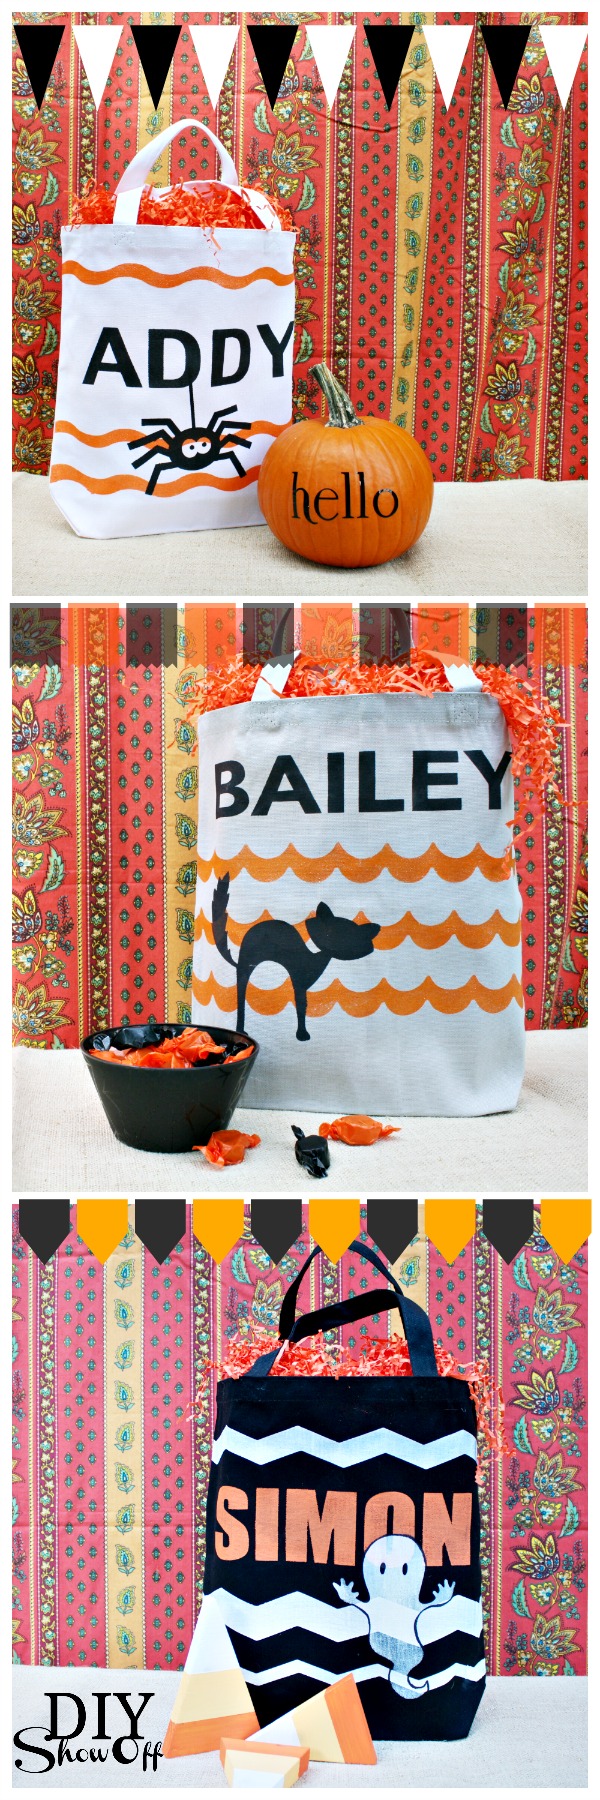
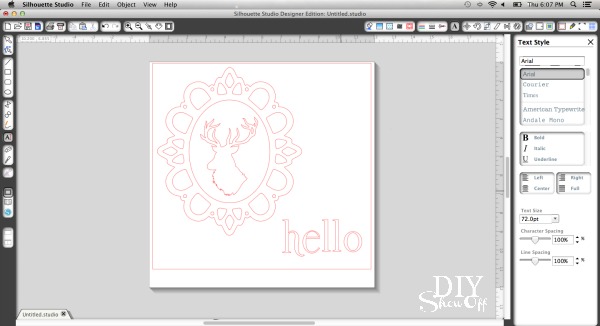
For this craft, I used my Silhouette Portrait to cut my heat design into my gold vinyl.
Directions:
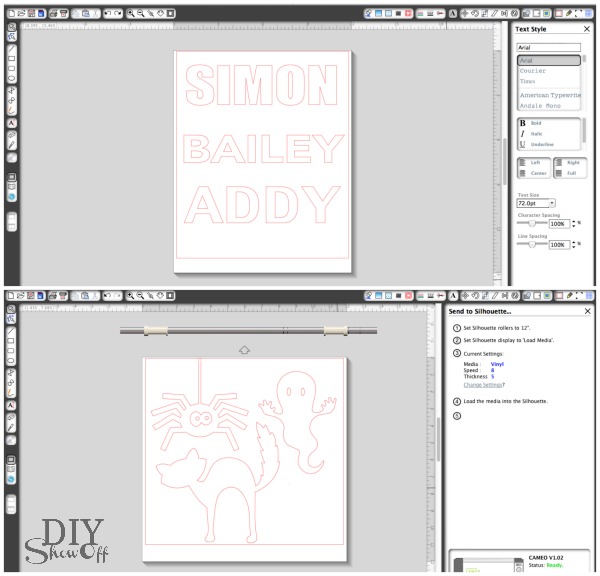
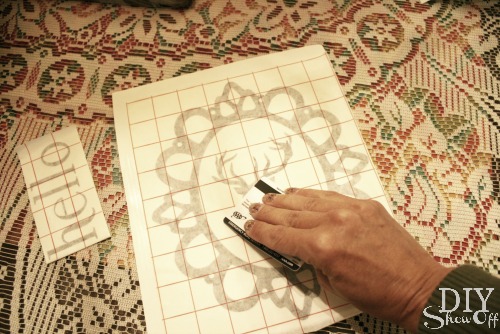
1. Design your decal in the Silhouette Studio software and be sure that it is a vector art.
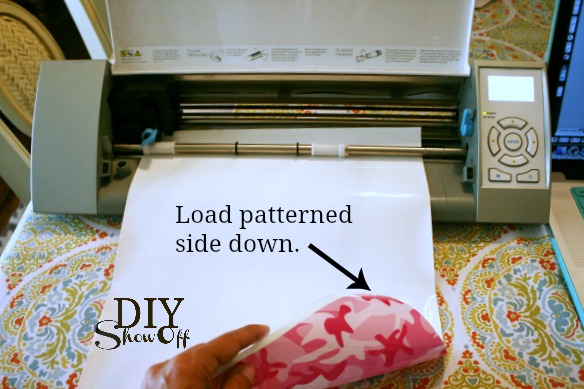
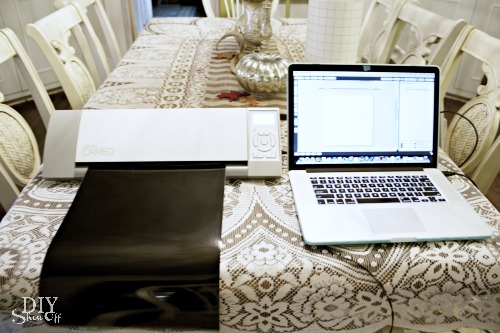
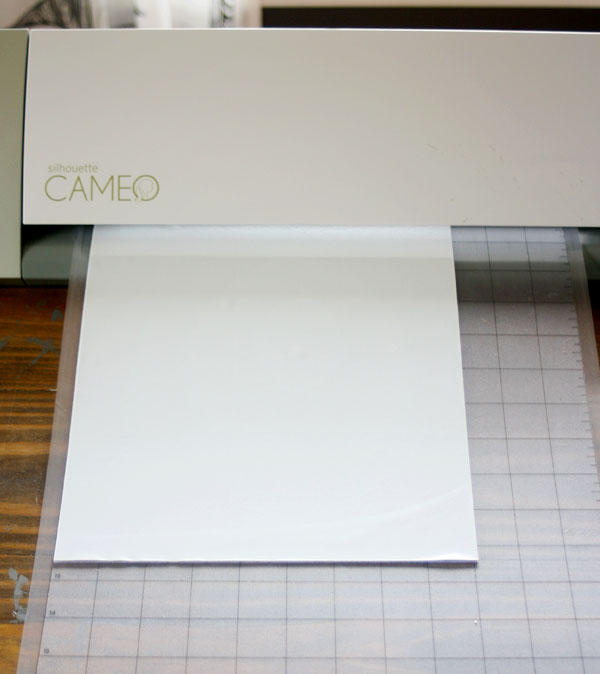
2. Load your Heat Transfer Vinyl into your Silhouette vinyl cutter without a cutting mat with the plastic side DOWN. (this is so that the sticky carrier attaches to your garment when ironing on)
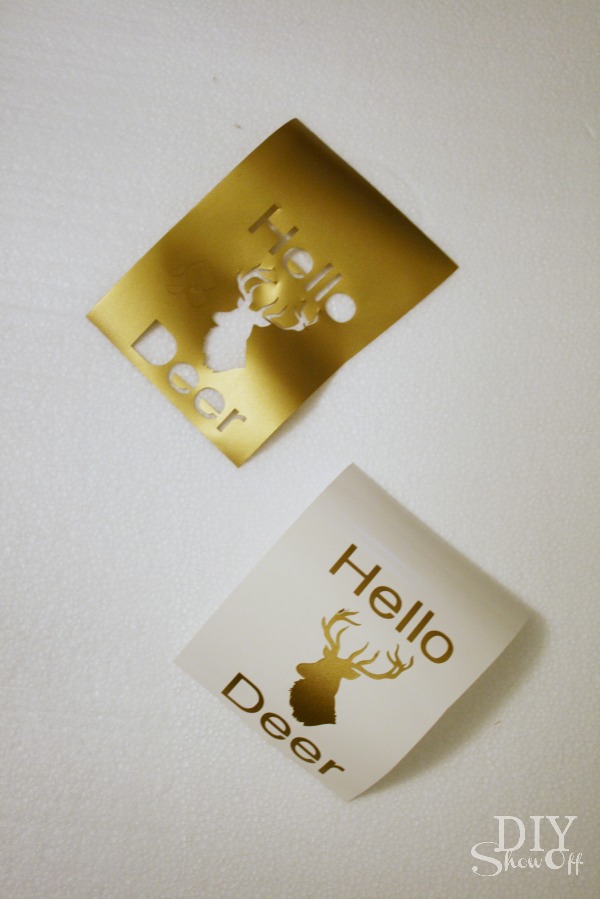
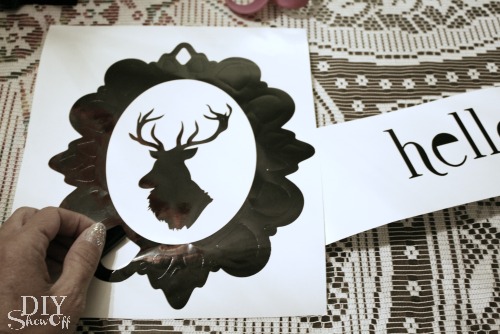
3. Then, cut your shape out using the Heat Transfer setting.

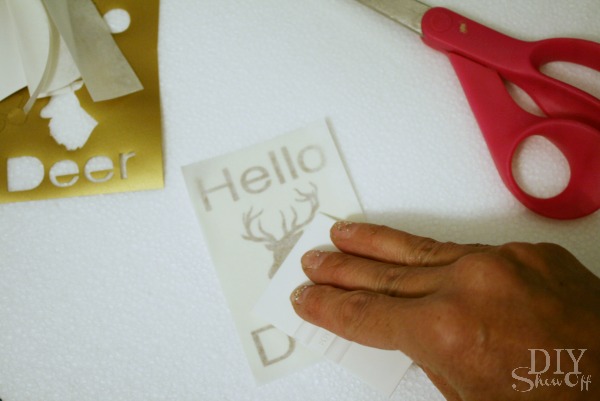
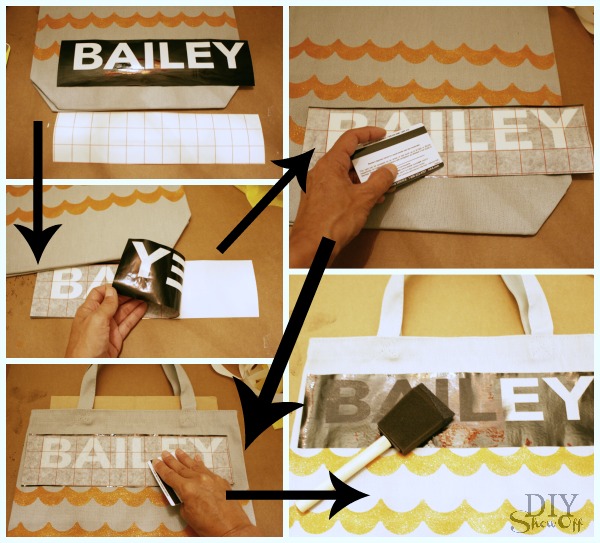
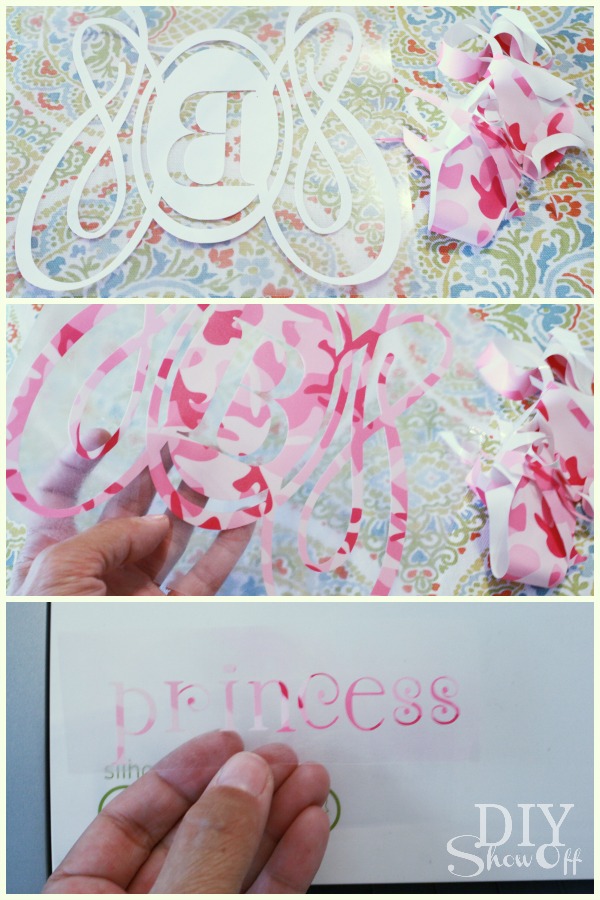
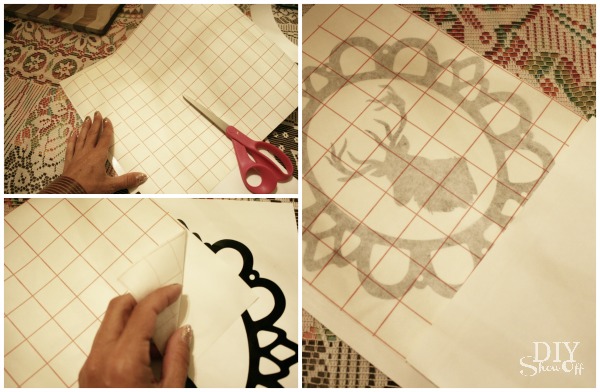
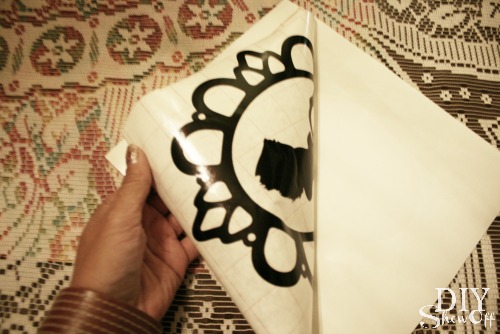
4. Weed away the excess material from around your decal.
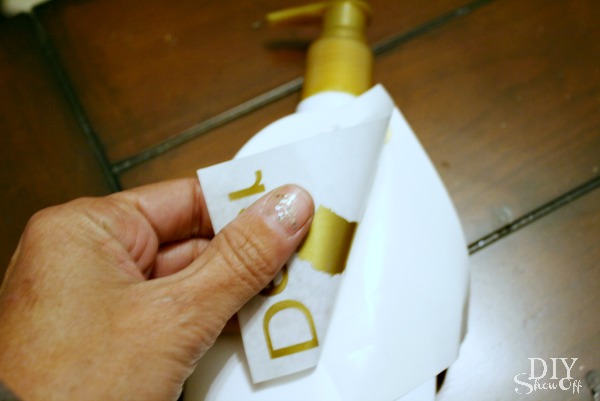
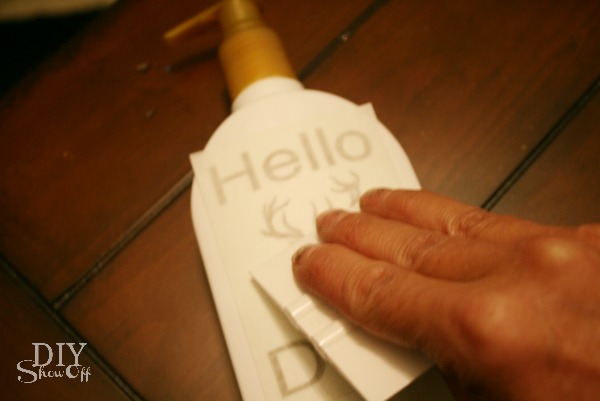
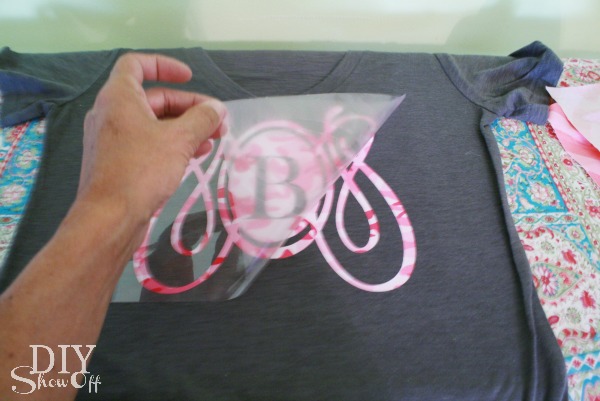
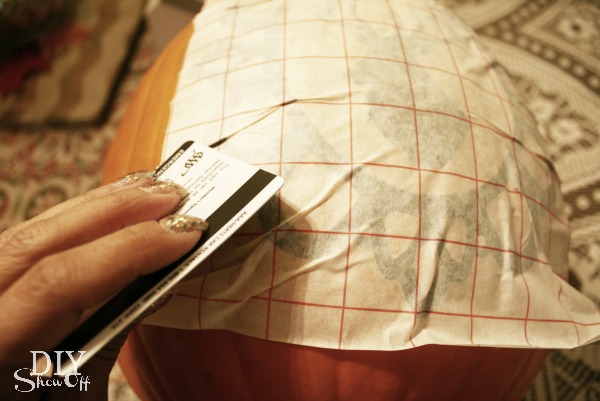
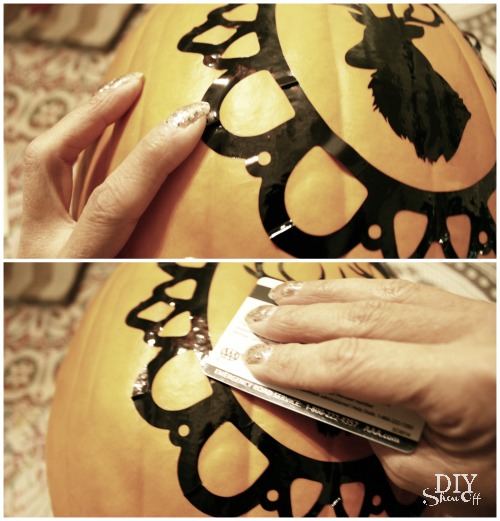
5. Place the decal onto your shirt with the plastic side UP this time (sticky side down). Place a piece of scrap fabric over the top and press firmly with your iron for 45-60 seconds. My iron was set to the second hottest cotton setting and it took 45 seconds exactly. {see tips below}
*TIPS: Press very firmly with your iron. I like to add a towel or several layers of fabric underneath the shirt to prevent the metal bars in my ironing board to make an appearance on my hear transfer. The thicker your fabric the more firm you need to press to ensure equal heat across your design.
**IMPORTANT TIP: Make sure you use a timer so you can keep track of exact seconds. I typically use the stopwatch feature on my phone.
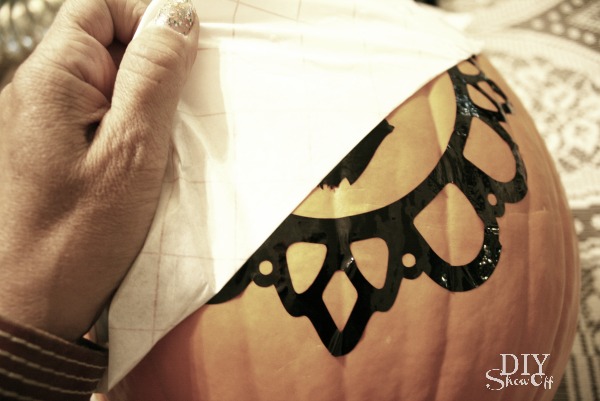
***How to Tell if the Heat Transfer is “Done” TIP: If done correctly, the heat transfer will appear to almost melt into the fabric. If it looks like it is merely “sitting” or “resting” on top of the fabric, or if you can see the edges curling or pulling up when removing the carrier, you need to iron longer. If your heat transfer material is shiny and splotchy, you have ironed it for too long and probably have burned it. 😦

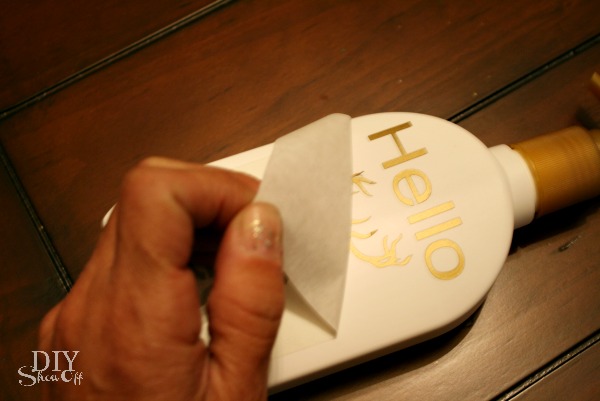
6. Allow to cool for just a few seconds and then remove the clear plastic carrier from your design. {Caution! it might still be hot so be careful not to burn your fingers!}
You can connect with Happy Crafters on Twitter, Facebook, and Pinterest.
Have you crafted with Heat Transfer before? What do you like it? Don’t miss a Craft! Follow Craftaholics Anonymous® on Bloglovin and on Pinterest! Disclosure: This post is brought to you by Happy Crafters. I received free products to try. All opinions are completely mine!


